|

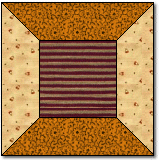
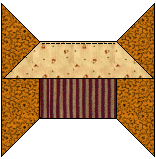
Here's a chance to brush up on your mitered corners...you know you wanted to!! :o) It's a 12" block! |
|
Please abide by the Terms and Conditions of use! :o) |
** Preparing the Pieces and Sewing the Block ** |
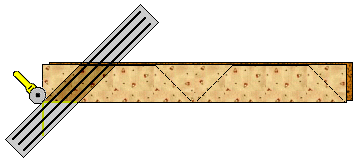 |
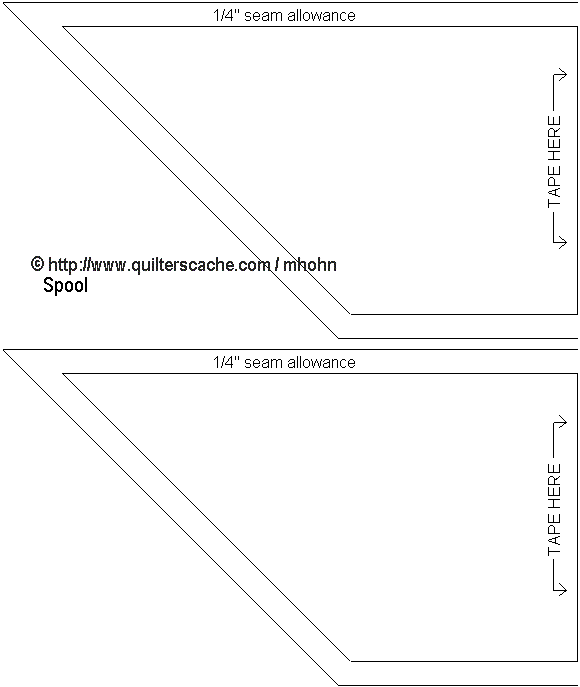
Stack your Color1 and Color 2 26-1/2" strips, with edges aligned, and using a see-thru ruler, mark your trapezoids; the bottoms will be 13-1/4"; the tops will be 6-1/4". and the angle will be a 45 degree angle...or if you prefer...here's a template! ... |
|
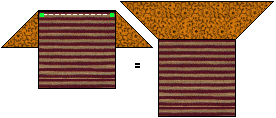
Mark a point 1/4" from each corner of the center square. Align this piece, right sides together atop the Color 2 trap, and sew between the marked points, using a 1/4" seam. Backstitch at either end of this seam! Press seam towards trapezoid..... |
|
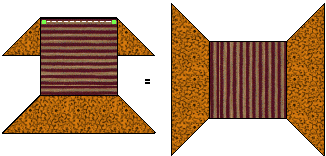
Then sew on the other Color 2 trapezoid in the same way, remembering to keep the last 1/4" free on either end of the seam and again pressing seam allowance towards trapezoid... |
 |
|
Next sew on the
first Color 1 trapezoid in the same manner as the above steps, marking the 1/4"
points and stitching with 1/4" seams, pressing seams towards the center block
this time...
..on to Page 2! |
|
|
pattern from http://www.quilterscache.com |
Traditional Block |