|
Santa Face - Page 2 |
** Let's Get To The Sewing!! ** |
|
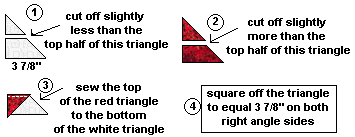
Take ONE of your Color 4 triangles, measure it up one right angle side from the bottom and mark at the 2" line, then cut that off from there up. Then take ONE of the Color 2 triangles, lay it out facing in the same direction; measure this one from the top point DOWN the right angle side to the 2" mark and cut that one off there. Sew the red top on the white bottom. This is the piece you may have to finagle a bit. MAKE ANOTHER ONE OF THESE UNITS-BUT REVERSED! |
|
Then, sew the piece you just made to a Color 1 triangle, using a 1/4" seam. Make another of these as well... |

|
Then sew a Color 2 2" x 3-1/2" strip to a Color 4 2" x 3-1/2" strip. Make two of these. (hat and brim) If necessary, trim this back to be a 3-1/2" square... |
|
Next sew a Color 5 2" x 3-1/2" strip to a Color 3 2" x 3-1/2" strip. Make two of these. (face and hair) If necessary trim this back to be a 3 1/2" square... |
|
Then sew a Color 1 triangle to a Color 3 triangle. Make two of these... |
|
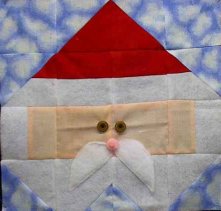
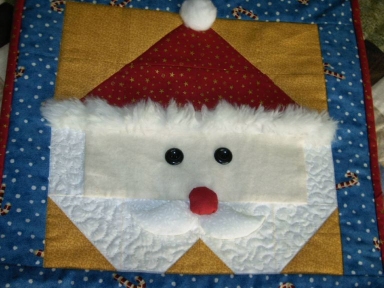
Piece the block in the order shown, pressing out seams in opposite directions by row, and then hand appliqué on a nose and moustache!! A row of three or four of these with different hats and facing in different directions would make the CUTEST table runner!...or...a row of these, then a row of trees, then a row of snowmen...Next thing you know, you have an awesome Row Quilt!! See?? This is why we do this! Idea leads to idea, leads to idea.....!!! HAPPY QUILTING EVERYONE!! ...Marcia :o) On to Page 3 for Supplies Needed!
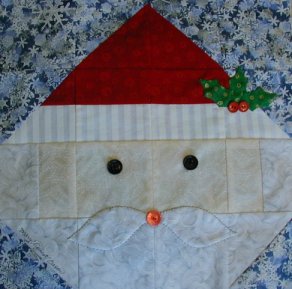
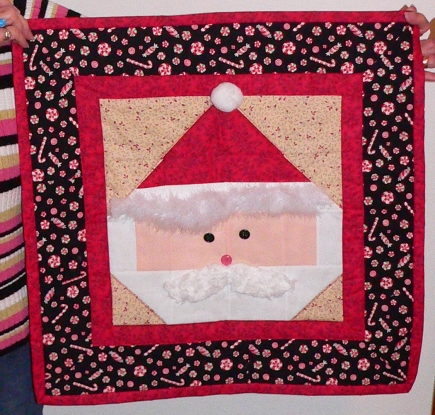
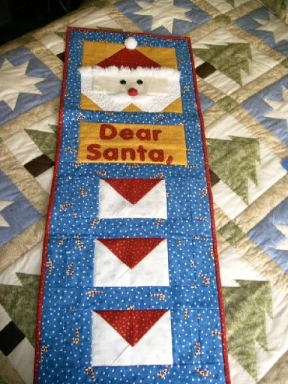
Here's Dessa's ! Mary's! Donna's! Alison's Wall Hanging!- close-up
|

|
|
|
||
|
Original Design |
original pattern from http://www.quilterscache.com |
