|
Next, pin and sew the light arcs to the curved edge of the previously completed units. Sew together the squares ends... |
|
Sew two background shapes below the top "ring", again following the same method of piecing curves... |
|
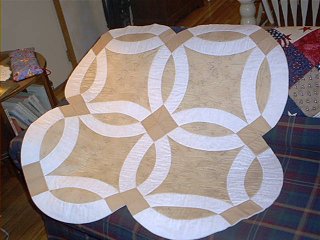
Lastly, join the blocks partially
completed top with the lower "ring". Sew this piece from the center out, after
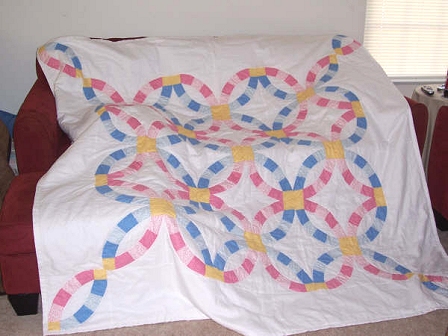
carefully matching the center squares. and That's it! :o) Let me mention here that you have as an option using ONE piece, Piece 3, to make the arc, rather than joining four smaller pieces for each arc. Also, I show the rings done here in only reds and blues, but the Double Wedding Ring is very pretty done in a vast number of colors! |
|
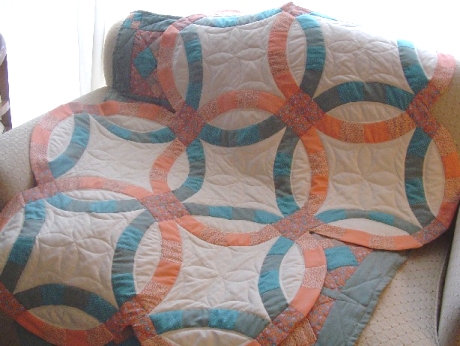
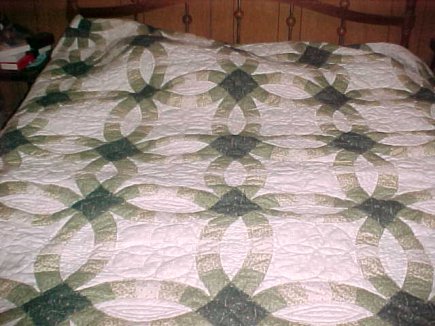
This quilt would have the rings all on your bed's top, and a drop on the sides and end of heavily quilted background fabric...Shown here with a split at the corners for bed posts... Happy Quilting Everyone!! Marcia :o) on to Page 3 ! for Supplies Needed! |
|
|
|
|
|
Traditional Block |